Using Client Credentials
Why Client Credentials?
With machine-to-machine applications, such as CLIs, daemons, or services running on your back-end, the system authenticates and authorizes the app rather than a user. Machine-to-machine apps use the Client Credentials Flow (RFC), in which they pass along their Client ID and Client Secret to authenticate and get an access token. A user can provision many sets of client creds, each used for a corresponding back-end app.
Since Content Hub Auth does not yet have a UI for sigining-in and creating these client credentials, we have two alternate methods documented to do so:
Note: In order to create a set of client credentials you first need a user associated access token. The process to provision that access token is built upon the Authorization Code Flow with Proof Key for Code Exchange (PKCE). This requires the user to authenticate by providing username and password, returning an Authorization code that can then be exchanged for the actual access token. That access token can then be used to make requests to supporting services or in this case provision a set of client credentials. Both the CLI and Postman collection solutions facilitate this for you!
CLI Solution
Requirements
- If not already installed, download and install nodejs: node install how-to
Installation
- Download the CLI Solution here: CLI Download
- Unzip cli.zip and Move into the cli folder
cd cli - Run the following command to get the required packages installed:
npm install
Usage
Once packages are installed, running the CLI with the -h argument brings up the CLI usage options
MacOS
./pkce-cli -h
Windows
node .\pkce-cli -h
Usage: pkce-cli [options]

Options:
  -c, --client_id <okta client id>               OIDC Client ID (optional)
  -s, --scopes <space separated list of scopes>  Space separated list of scopes (required)
  --skip_client_credentials                      Flag to skip the create client credentials flow
  -h, --help                                     output usage information
To provision a user token and subsequently create a set of client credentials execute the following command:
MacOS
./pkce-cli --scopes "openid"
Windows
node .\pkce-cli --scopes "openid"
Note: The provided
--scopescan be any of the reserved scopes, such as: openid profile email address phone offline_access as well as the application specific scopes, such as: content.rda.use content.catalog.use content.internal. Just ensure they are space separated. All that is needed to create the client credentials is the openid scope. Also note that the scopes you specify here do not dicatate what scopes get assigned to your client credentials. Your associated account is what determines that.
With a first time run of the CLI, you will be prompted to enter your OKTA credentials (the ones used to login into maxar.okta.com)
getting credentials from keychain (content-hub-auth)
credentials not found...
enter your okta username: okta username
enter your okta password: ***********
saving credentials in keychain
authenticating...
push sent...
After entering your credentials these will be saved using the keychain store with the key content-hub-auth
The next time you run the CLI the credentials will be accessed from that keychain
getting credentials from keychain (content-hub-auth)
credentials found...
credentials submitted...
push sent...
Once the push notification is accepted in the user's device the below message is printed in the console. The access_token is what the CLI will then use to request a set of client creds.
Token:
{
  token_type: 'Bearer',
  expires_in: 21600,
  access_token: '{access_token}',
  scope: '{scopes}',
  refresh_token: '{refresh_token',
  id_token: '{id_token}''
}
To create a set of client creds complete the required inputs. Be sure to give your client a name and description that reflect what you intend to use it for.
Please enter client name:  {client_name}
Please enter client description:  {client_description}
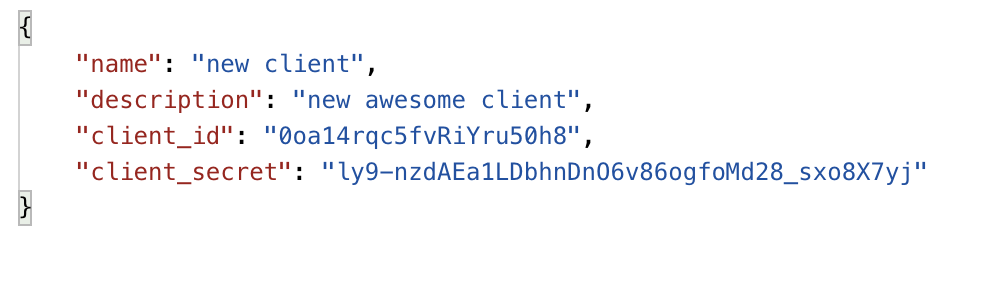
The following response is printed if the client is created succesfully.
Client:
{
  name: '{client name}',
  description: '{client desc}',
  client_id: '{client_id}',
  client_secret: '{client_secret}'
}
Note: These client credentials are meant for machine to machine requests, please take a moment to securely save this client_secret as it can't be shown again for the same client.
And you now have a set of client credentials that you and your app can use to provision access tokens to make requests to Content Hub services!
Jump to get-a-token-using-client-credentials for instructions on how to provision that token.
Postman collection
Requirements
- Download and install Postman: Postman
Note: Postman is a simple GUI tool for making requests to web APIs.
Installation
-
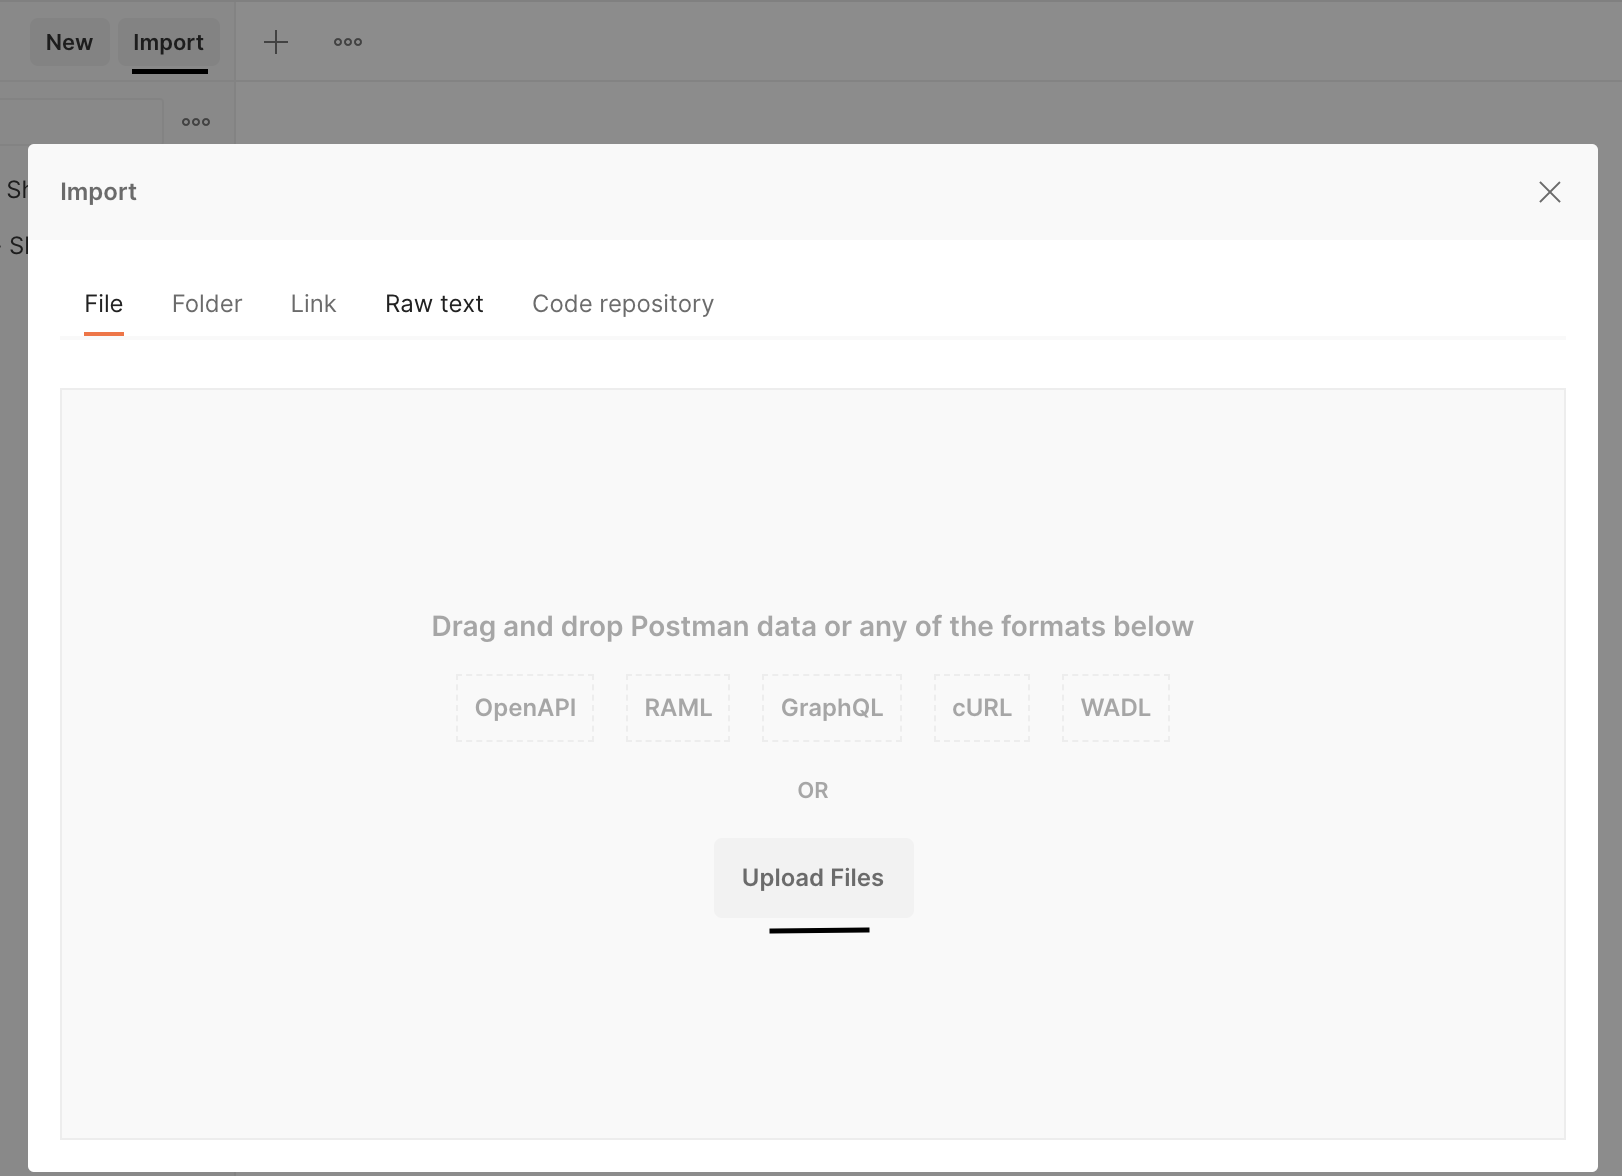
Open the Postman app and import this collection: Postman Collection
-
Import the postman collection
Creating a set of client credentials
Once the collection is imported follow these next steps to create a new set of client credetials:
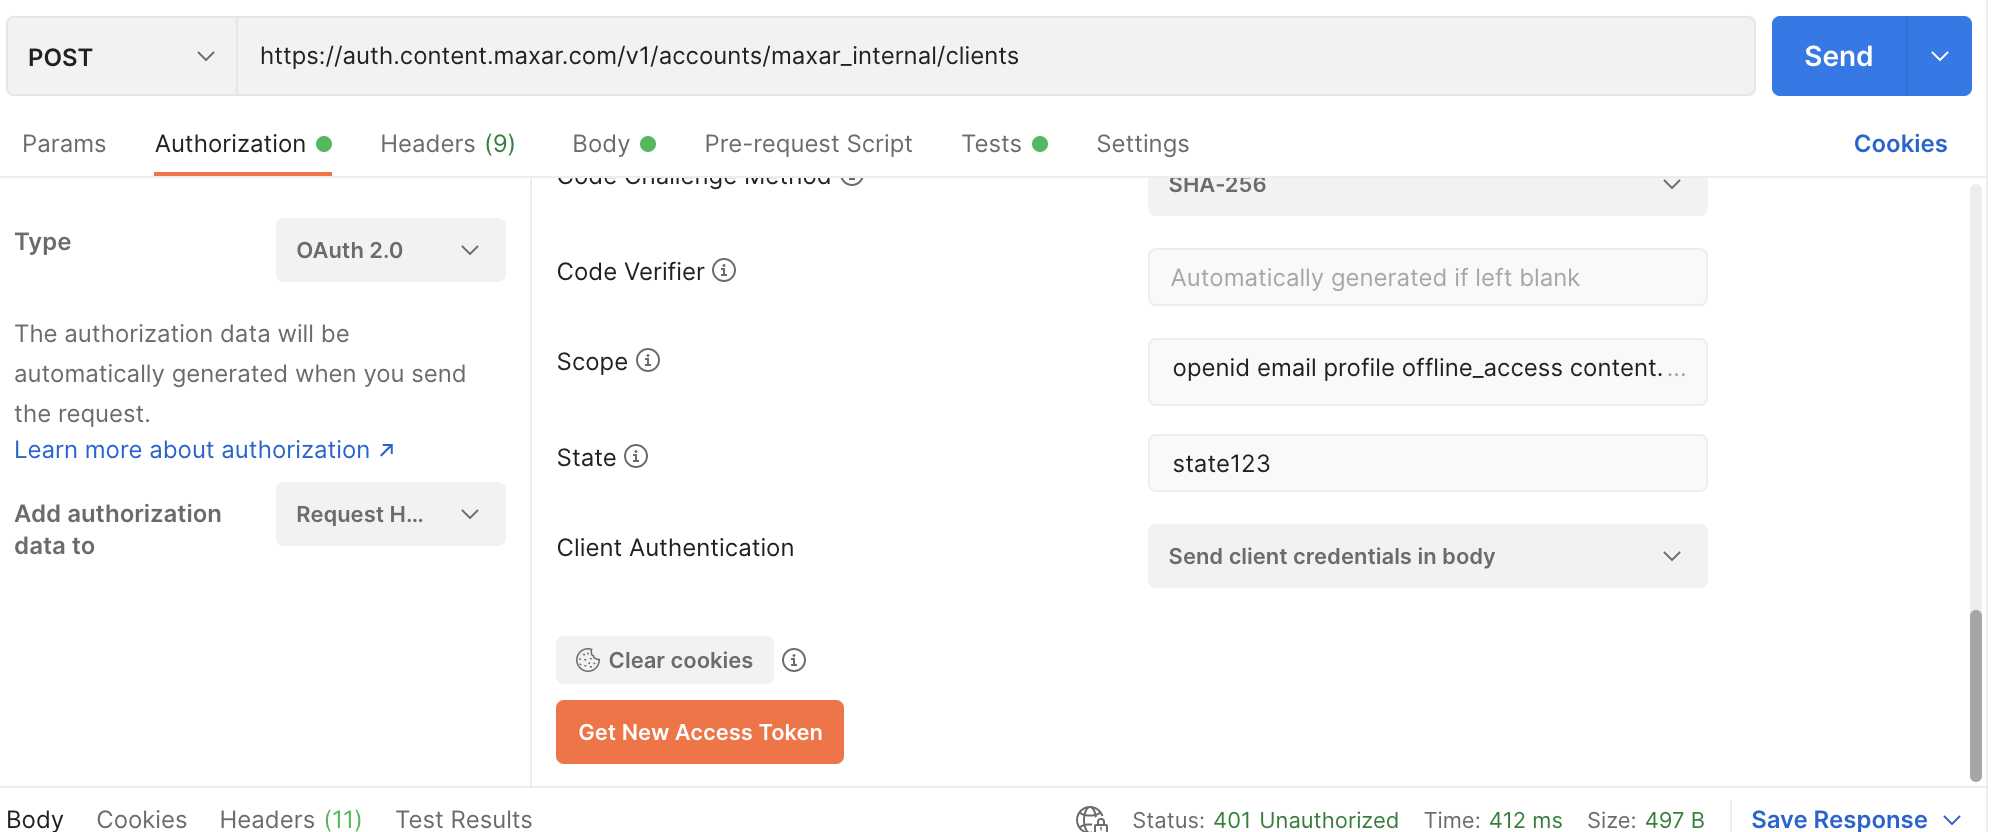
- Click on the create new app / client request.

- Select the Authorization tab and click on the Get New Access Token Button
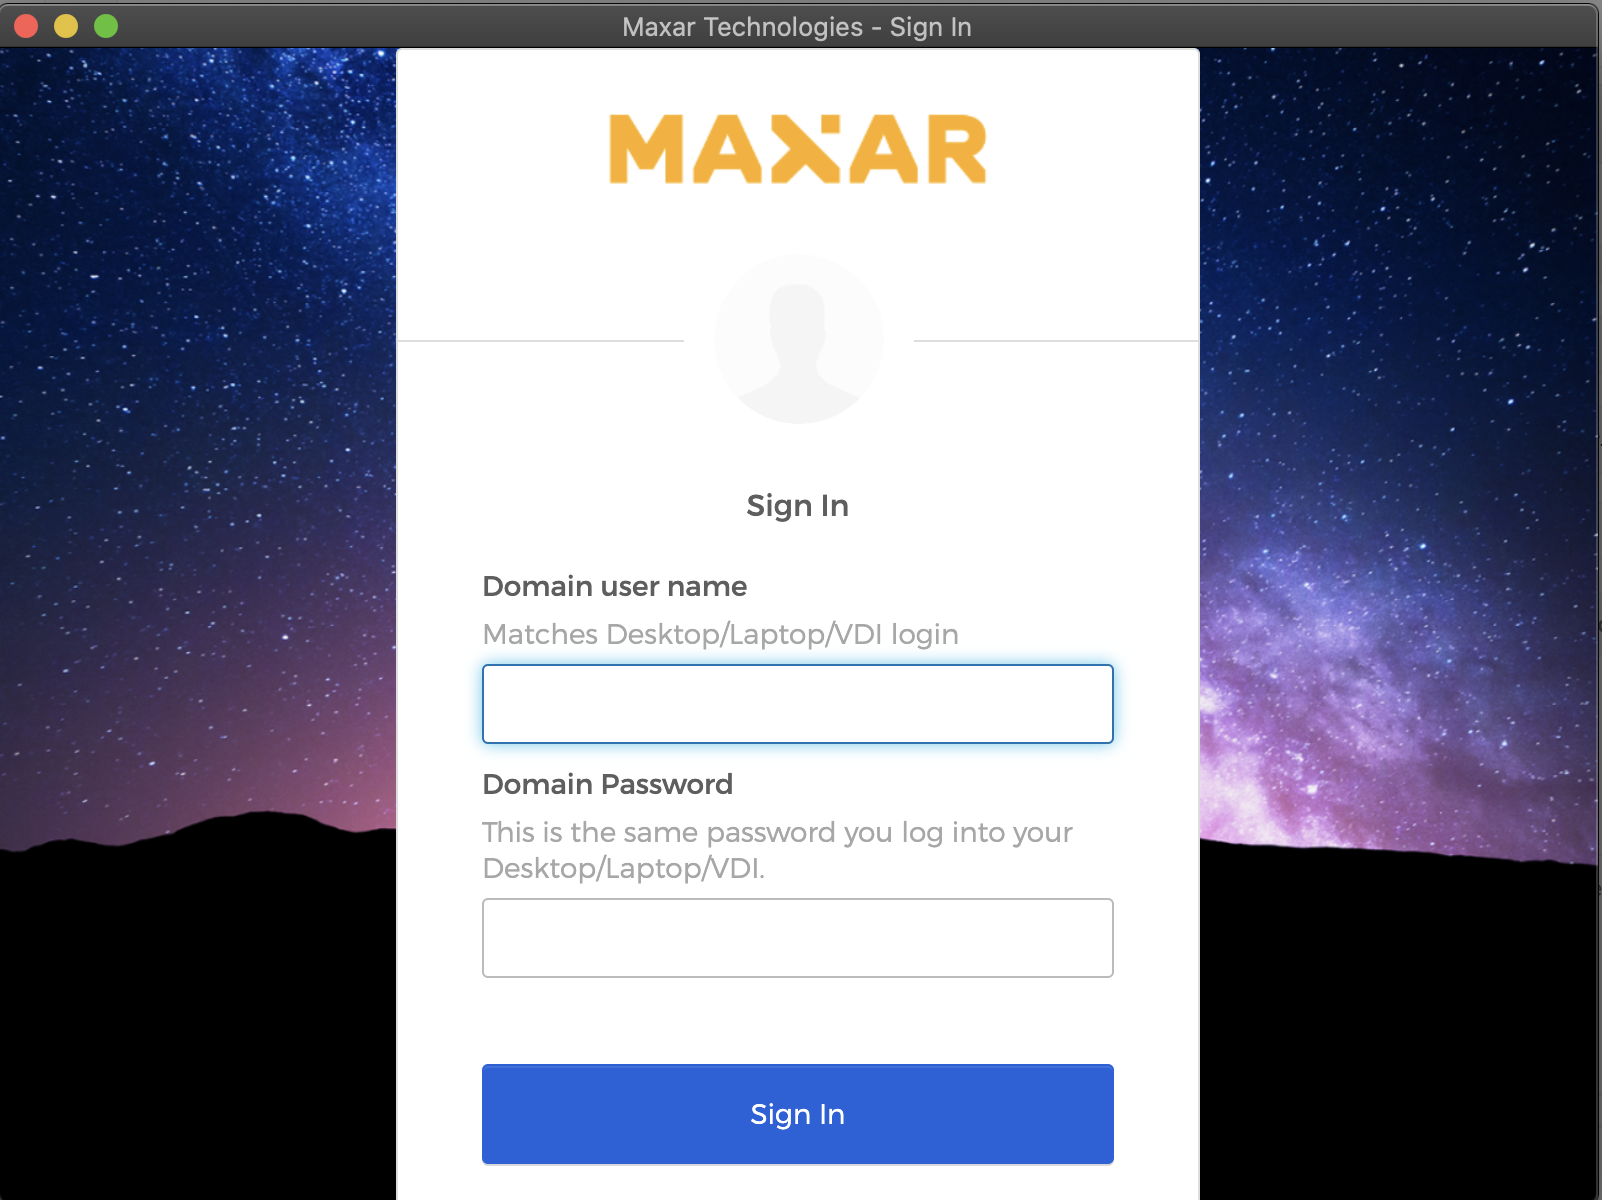
- Follow the okta login flow
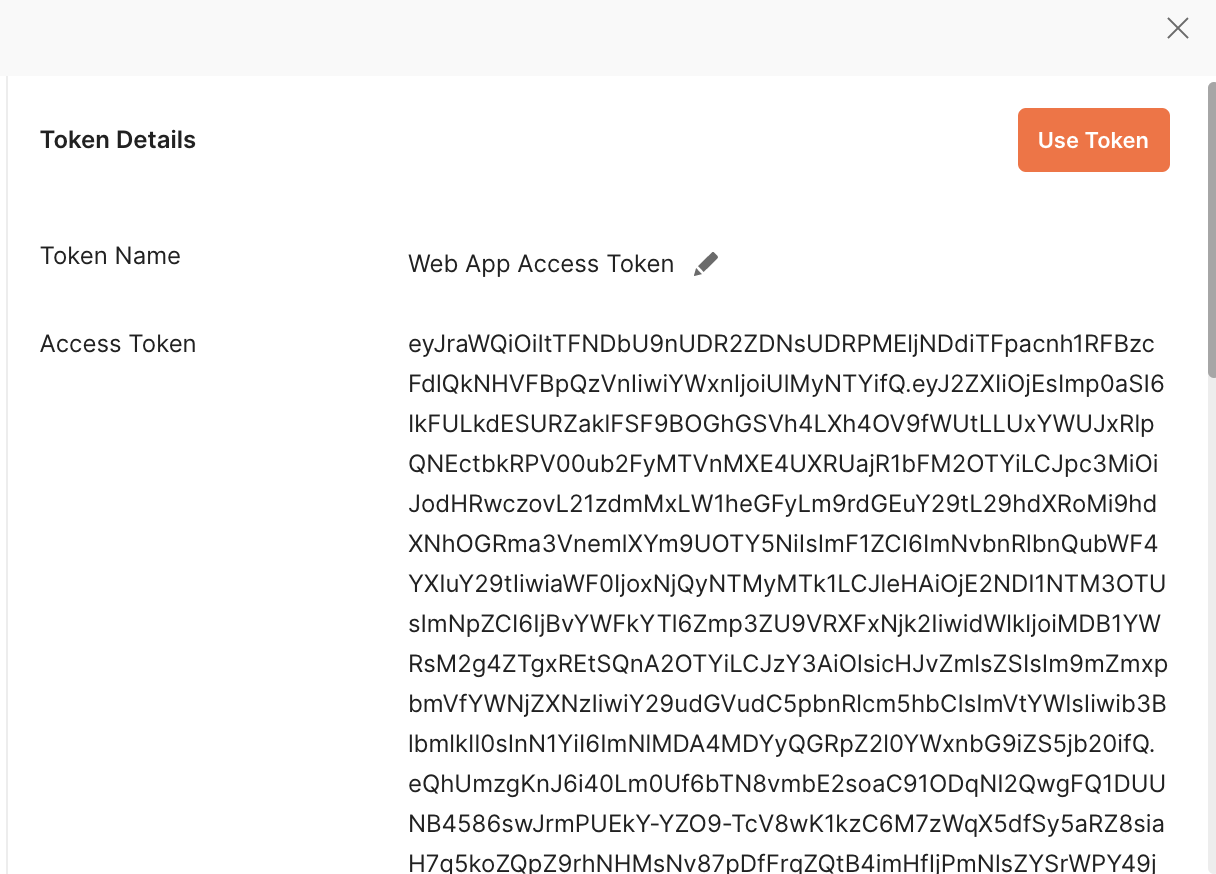
- Click on Use Token
- Select the Body tab and enter the client name and client description in the body request. Be sure to give your client a name and description that reflect what you intend to use it for.
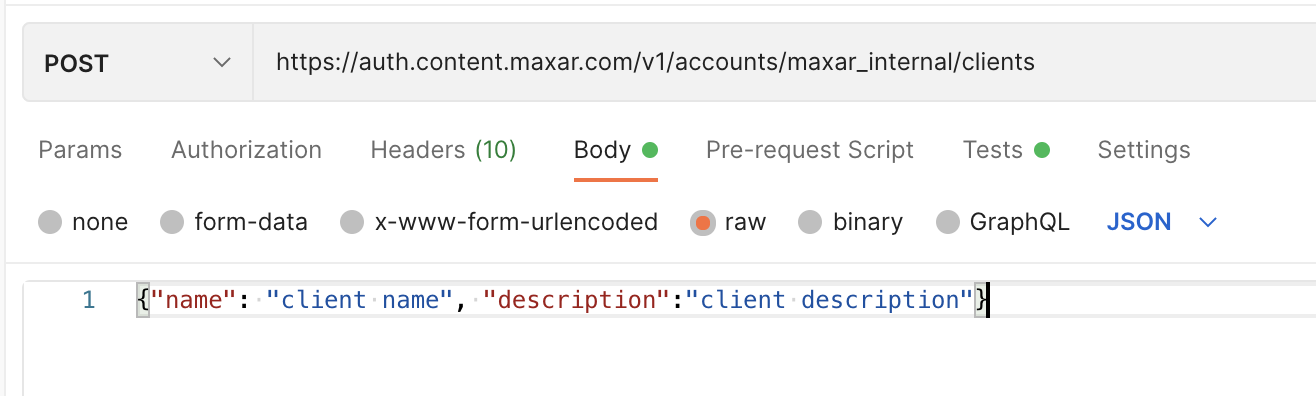
- Click the Send button to execute the request and create a new set of client credentials.
These client credentials are meant for machine to machine requests, please take a moment to securely save this client_secret as it can not be shown again for this client.
And you now have a set of client credentials that you and your app can use to provision access tokens to make requests to Content Hub services!
Jump to get-a-token-using-client-credentials for instructions on how to provision that token with Postman.
Get a token using client credentials
cURL Request Example
In order to request an access token using client credentials execute the following request:
curl -X POST --user {client_id}:{client_secret} https://auth.content.maxar.com/v1/oauth2/token
or
CLIENT_ID='{client_id}'
CLIENT_SECRET='{client_secret}'
echo -n "$CLIENT_ID:$CLIENT_SECRET" | base64 > ~/.ch-okta-auth.b64
curl --location \
--request POST "https://auth.content.maxar.com/v1/oauth2/token" \
--header "Authorization: Basic $(<~/.ch-okta-auth.b64)"
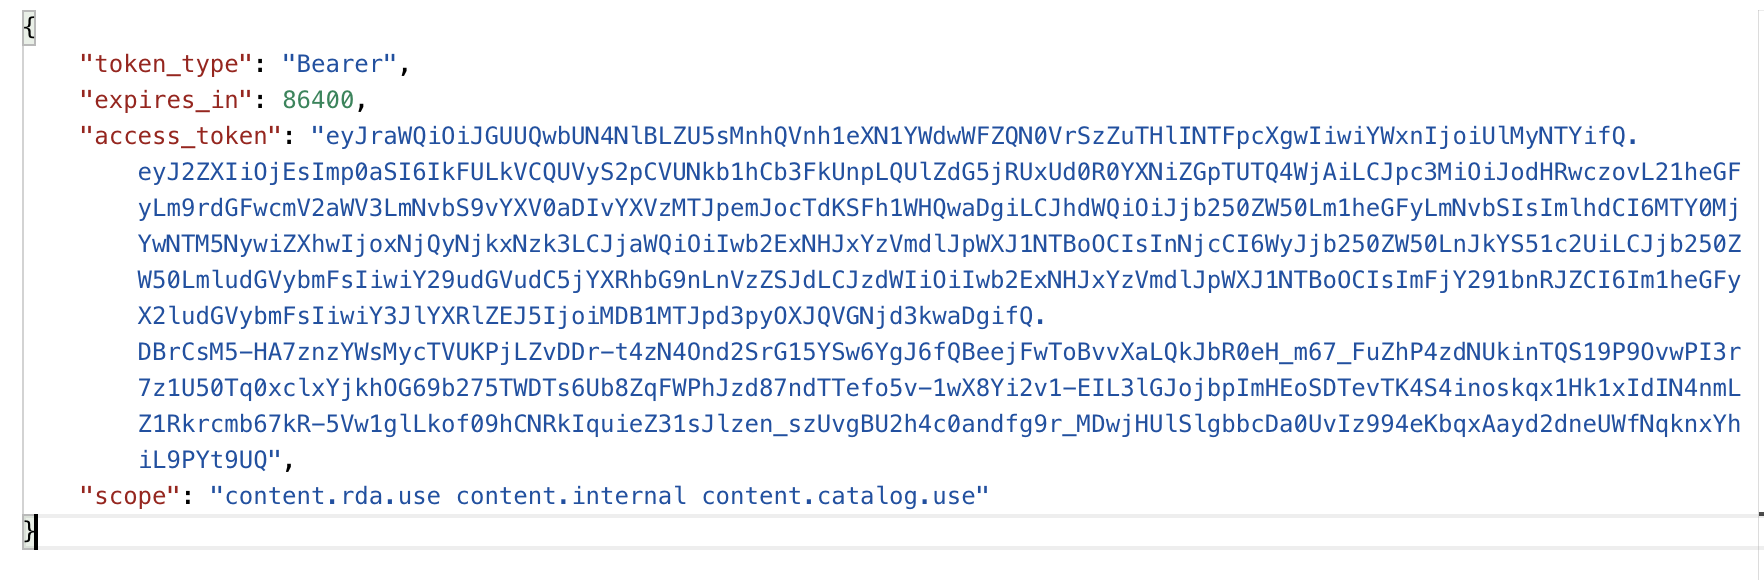
Successful response:
{
  "token_type": "Bearer",
  "expires_in": 43200,
  "access_token": "{access_token}",
  "scope": "{scopes}"
}
Postman Request Example
In order to request an access token using client credentials perform the following steps:
- Click on the get token with client creds request

- Enter the client_id and client_secret in the Authorization Tab
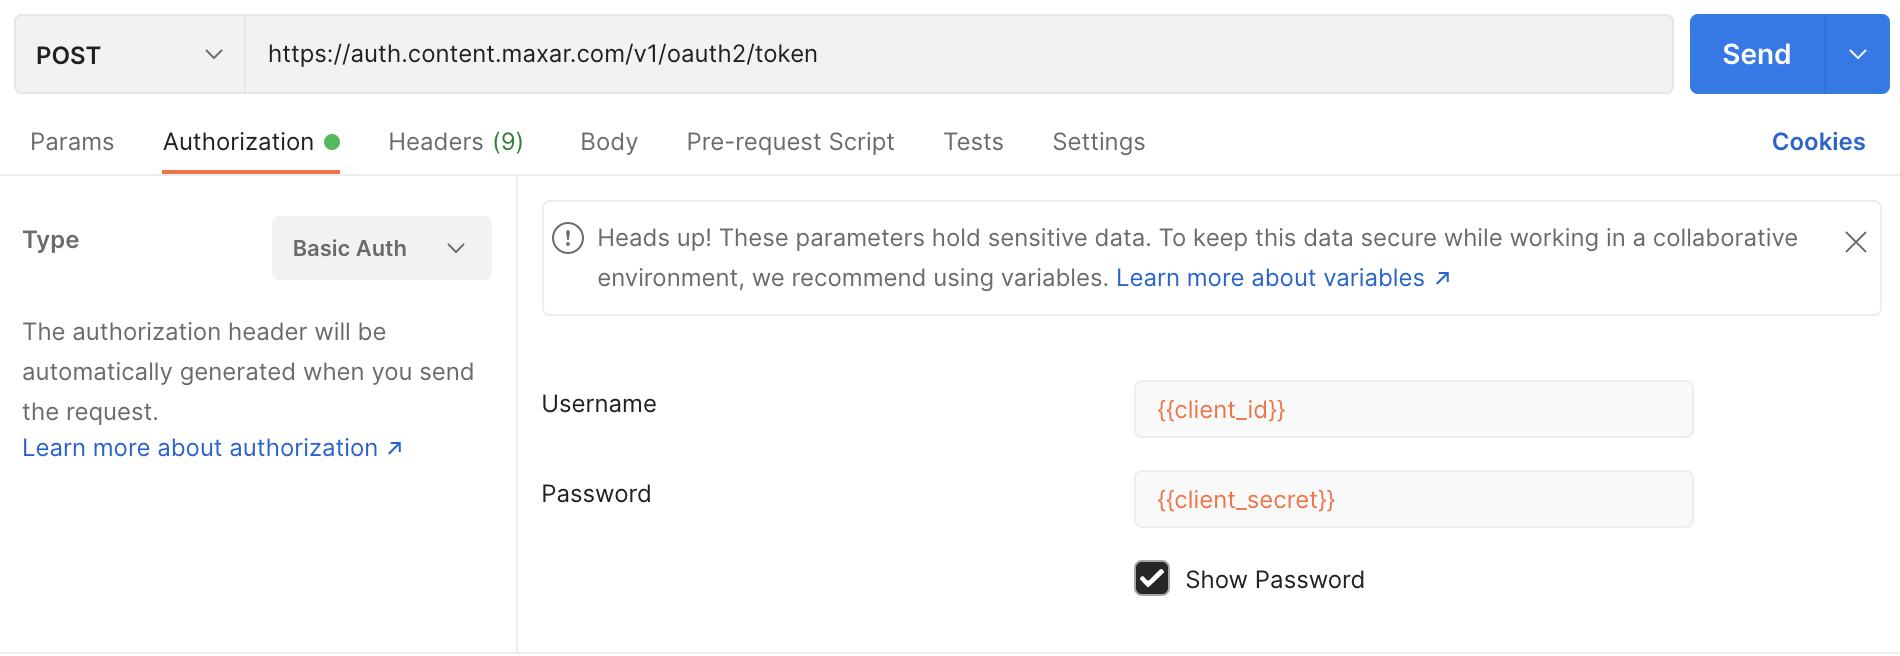
- Click the Send button to execute the request and get the access token.
Which scopes get attached to my token?
Unlike the user (authorization code) flow, when you provision a token with client credentials you do not need to specify the scopes that you would like included in your token. Your client credentials access token will automatically include all scopes that are associated with your account.
Using the client access token
The returned client access_token can then be used to make a request to a Content Hub service such as the Catalog API. Please see service specific docs for how to provide that token in the Authorization header.
Note that these Content Hub Auth tokens expire after 12 hours. That is indicated in the
expires_inseconds value in the response body of when a token is provisioned. You can also decode an access token to extractexpunix timestamp to see at what time a given token expires.